Flask Charts.JS via Flask-RestX (With Sample)
Learn how to showcase information using Flask, Charts.JS, and Flask-RestX - Free Sample Code provided on Github.


Hello Coders!
This article explains how to code three different charts (bar, line, and pie) using Flask and Charts.js. All concepts mentioned on this page are fully implemented into a free sample, saved on Github (MIT License). For newcomers, Flask is a leading backend framework powered by Python and Charts.JS a popular JS library used in data analytics.
Thanks for reading!
- 👉 Charts via Flask-RestX - LIVE Demo
- 👉 Charts via Flask-RestX - Source Code
- 👉 Free support via email and Discord.
Quite often we need to showcase data to the users in the form of graphs and charts instead of simple plain tables. Visualizations are very effective tools for summarizing and communicating data.
Our project will follow a simple structure, For the front end, we will be using Bootstrap 5 for styling and ChartJS for plotting the charts. The backend will be written using Flask, Flask-RestX will be used to implement a simple REST API, The data for the charts will be stored in the SQLite database, Flask-SQLAlchemy will be used to interact with the Database.
✨ Introduction to Flask
Flask is one of the most popular web frameworks loved by both beginners and experts. It is a microframework known for its simplicity. Flask provides only essential core features of web framework such as template engine, routing, and template engine among other things. To provide additional functionality Flask makes it very easy to implement extensions.
Our sample will use two popular extensions Flask-RestX for implementing the REST API service and SQLAlchemy for storing and retrieving data for charts.
Getting started with Flask is pretty easy. Let's take a look at the following sample, provided by the official Flask docs:
👉 Install Flask via PIP
$ pip install Flask
👉 Flask - a minimal app
from flask import Flask
app = Flask(__name__)

@app.route('/')
def index():
    return "<h1>Hello World from Flask!</h1>"
👉 Start the app
$ flask run
Running on http://127.0.0.1:5000/
At this point, by visiting the app in the browser we should see the notorious message Hello World served by our code.
✨ Flask RestX
Flask-RestX is an extension for Flask that adds support for quickly building REST APIs. In other words, this library helps us to manage the database information using an API service that exposes all required actions (Create, Read, Update, and Delete). Let's code a minimal Flask-RestX project:
👉 Install Flask-RestX
$ pip install flask-restx
👉 Flask-RestX - a minimal sample
from flask import Flask
from flask_restx import Resource, Api

app = Flask(__name__)
api = Api(app)

@api.route('/api)
class DemoAPI(Resource):
    def get(self):
        return {"message": "This is a message from RESTX"}

if __name__ == '__main__':
    app.run(debug=True)
Once we access the URL http://localhost/api in the browser, we should see a simple JSON served by the above code.
✨ Plotting with Chart.js
It is very easy to include chart support for a Flask application (and not only) using Chart.js library. Chart.js is very beginner-friendly as you can include it directly in your frontend template, no front-end tooling such as Webpack, npm, or yarn is needed to get started.
Here is a very short example of how to plot a chart in plain HTML. We will expand this code in our application to plot the chart based on data.
<!doctype html>
<html lang="en">
 <head>
   <meta charset="utf-8">
 </head>
 <body>

   <div>
     <canvas id="myChart" width="200" height="200"></canvas>
   </div>
   <script src="https://cdn.jsdelivr.net/npm/chart.js"></script>
<script>
const ctx = document.getElementById('myChart').getContext('2d');
const myChart = new Chart(ctx, {
   type: 'bar',
   data: {
       labels: ['Red', 'Blue', 'Yellow', 'Green', 'Purple', 'Orange'],
       datasets: [{
           label: '# of Votes',
           data: [12, 19, 3, 5, 2, 3], // Data on Y axis
           borderWidth: 1
       }]
   }
});
</script>
 </body>
</html>
The above HTML page loads Chart.JS from a distant location, creates an HTML node id=mychart, and informs Chart.JS to render a simple bar chart using hardcoded data.
✨ Putting it all together
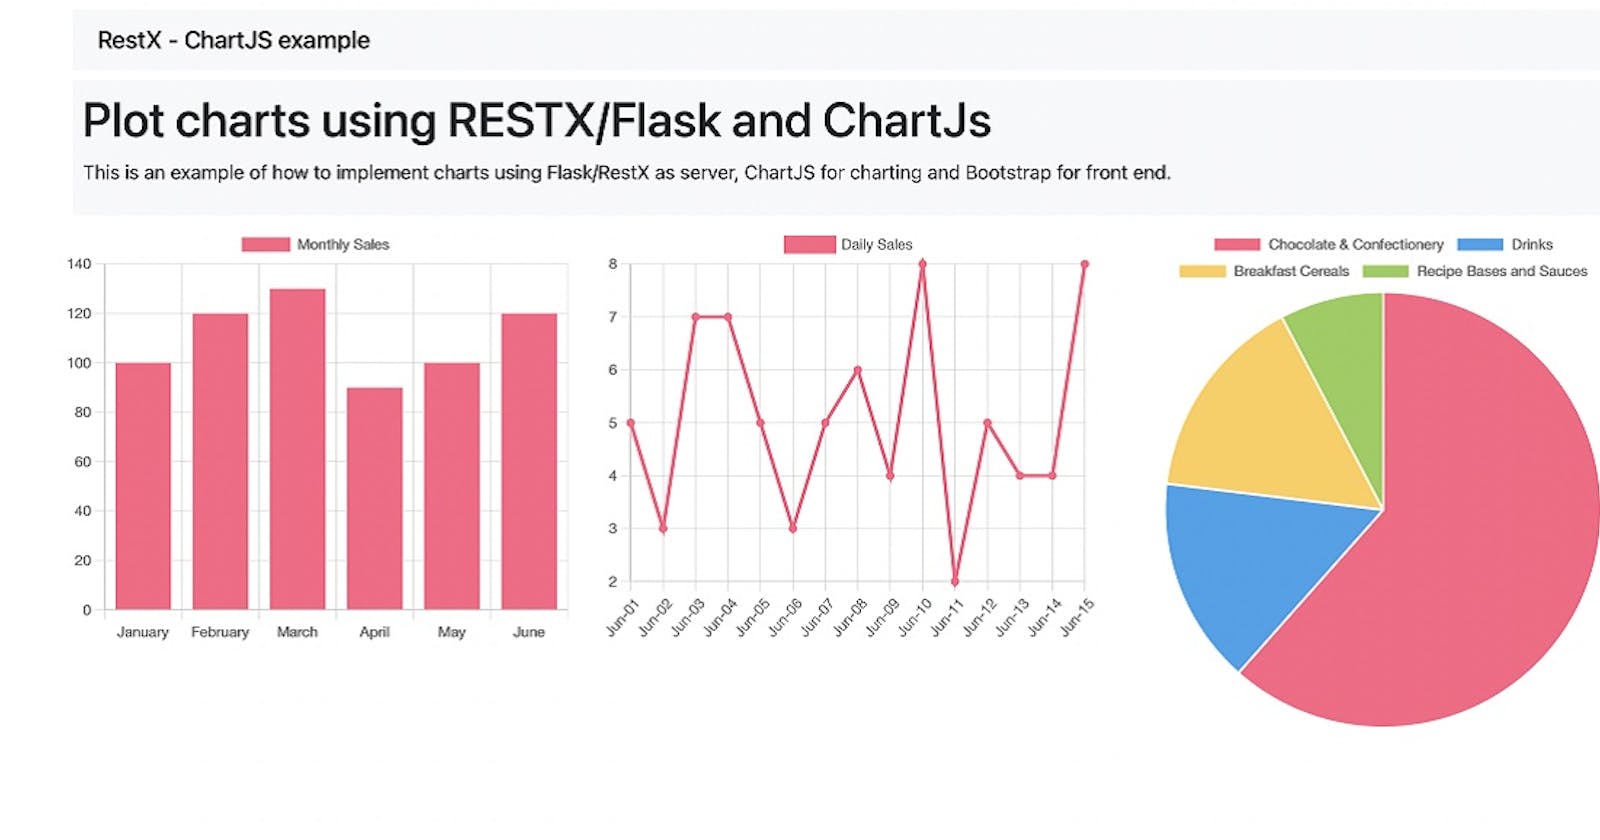
Consider a scenario where a retail store wants to track how many customers it has each month, how much sales it has done a month on month, and what is the product sale for the current month.
The index.html page contains three separate charts:
- Line chart of monthly customers
- Bar chart for monthly sales
- Pie chart showing the breakup of sales by different product
The relevant files that implement the requested features are mentioned below:
- 👉
app.py- bootstrap the app bundles all resources - 👉
api- implements a simple API that serves the DB data - 👉
models- defines the tables for our plotting experiment - 👉
data_loader.py- utility file that loads the sample data in DB - 👉
index.html- is the presentation layer styled with Bootstrap 5 - 👉
custom.js- pulls data via the API service and populates the charts
< PROJECT ROOT >
   |
   |-- app.py            # Create and start the APP object
   |-- api.py            # Simple API node
   |-- models.py         # app models
   |
   |-- data_loader.py    # Save the data in DB
   |
   |-- templates
   |    |-- index.html   # Simple page styled with BS5
   |
   |-- static
   |    |-- js/custom.js # Code the Charts
   |
   |-- *******************
🟩️ How to use the sample
If your workstation has already Python and GIT installed, the sample can be compiled with ease by typing a few commands in the terminal:
👉 Clone Sources
$ git clone https://github.com/app-generator/blog-sample-flask-charts.git
$ cd blog-sample-flask-charts
👉 Install Modules using a Virtual Environment
$ virtualenv env
$ source env/bin/activate
$ pip3 install -r requirements.txt
👉 Set up the environment
$ export FLASK_APP=app.py
$ export FLASK_ENV=development
👉 Load Sample Data from data directory
The information is loaded via a custom command defined in the app.py
# Content of app.py (truncated)

...

@app.cli.command("load-data")
def load_data():
    db.create_all()
    ...
Load data by calling the custom Flask command
$ flask load-data
Once all the above commands are executed, we should be able to see all charts: line, bar, and pie.

Thanks for reading! For more resources, feel free to access:
- ✨ More Free Dashboards crafted in Django, Flask, and React
- ✨ More Admin Dashboards - a huge index with products