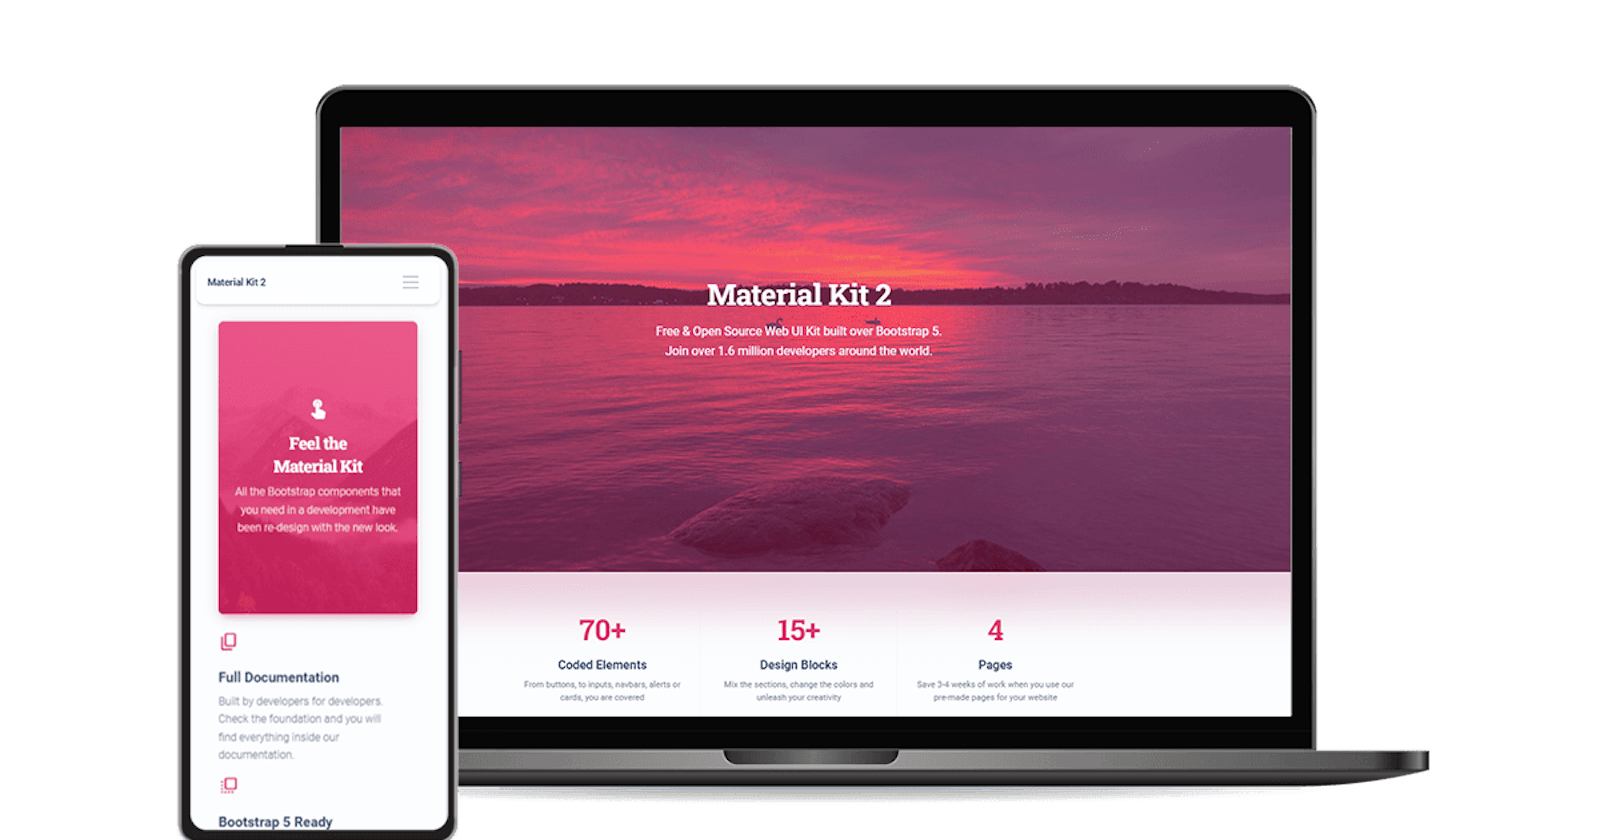
Flask & MongoDB - Material Kit (free sample)
Open-Source sample built with Flask and MongoDB on top of a modern Bootstrap 5 Design - Sources published on GitHub
Hello Coders!
This article presents an open-source Flask Sample that uses MongoDB for information persistence. MongoDB is a document database that simplifies classic database usage while still providing all the capabilities required by modern apps. Being released under the MIT License, the source code can be used for commercial projects or simply in eLearning activities. Thank you!
- 👉 Flask MongoDB -
source code - 👉 Flask Material Kit -
LIVE App - 🚀 Free Support - via
Email&Discord

The MongoDB interface is provided by Flask-MongoEngine, a popular library that manages the connection using a simple object-oriented API. Here are the necessary steps to bind any Flask app to MongoDB.
👉 Step #1 - Add MONGODB_SETTINGS in configuration
This section is used by the Flask-MongoEngine library to connect and manage the read/write requests.
MONGODB_SETTINGS = {
        'PORT':27017,
        'host': os.getenv('MONGO_HOST','localhost'),
        'DB'  : os.getenv('MONGO_DB','materialkit-flask')
    }
The above code snippet loads the connection data from the environment but also can be used with hard-coded data as well.
👉 Step #2 - Create the Mongo "db" object and bind it to Flask
# ... (truncated content)

app = Flask(__name__)  # Create Flask object
db  = MongoEngine()    # create the Mongo interface
db.init_app(app)       # bind MongoDB with Flask

# MongoDB sessions
app.session_interface = MongoEngineSessionInterface(db)
👉 Step #3 - Update Models definition
from apps import db  # DB object is constructed in step #2

class Users(db.Document, UserMixin):

    meta = {'collection': 'users'}

    username = db.StringField(required=True)
    email    = db.EmailField(required=True)
    password = db.StringField(required=True)
Two things are MongoDB-specific in this definition:
Usersreuse the definition ofdb.documentObject meta: that specifies thecollection MongoDBfile
At this point, the app is fully configured to use Mongo persistence. Let's take a look at the sample code used by the authentication layer for user registration & sign-in.
✅ Sign IN Flow - Locate the current user
# Import Model
from apps.authentication.models import Users

# Read Username value submitted by the user
username = request.form['username']

# Search the user (check if exists)
user = Users.objects(username=username).first() # <-- MongoDB Used HERE

if user:
  # here the user exists
  # Check password (... content truncated)
  login_user(user)
else:
  # user not registered
We can see that the MongoDB query API is quite closer to the SqlAlchemy syntax, and even beginners or first-time users should accommodate fast.
✅ Registration Flow - Create new users (if not exists)
from apps.authentication.models import Users

# Read email submitted by the user
email = request.form['email']

# Check username already used
user = Users.objects(username=username).first() # <-- MongoDB Used HERE
if user:
  # username already taken
  # return Error

# Check email already used
user = Users.objects(email=email).first() # <-- MongoDB Used HERE
if user:
  # email already taken
  # return Error

# All good here, let's create the user
user = Users(username=username,email=email,password=pass)
user.save()
The application can be started in a local environment using the classic steps for any Flask project: install the dependencies, set up the environment, and start the project using Flask embedded server or other WSGI servers like Gunicorn or uWSGI.
Once the application is started, we should see the SignIN page (guest users are forced to authenticate). After the authentication, all private pages are accessible.

Flask & MongoDB - Cover Image

Flask & MongoDB - Team Component

This amazing design is provided for free by Creative-Tim with 60 frontend individual elements, like buttons, inputs, navbars, nav tabs, cards, alerts, and sample pages: user profile, contact page, sign-in, and landing page.
The design follows Google's Material Design patterns plus a unique component from the Creative-Tim design vision.
The Bootstrap 5 version can be download from this location.

Thanks for reading!For more resources and support, please access:
